
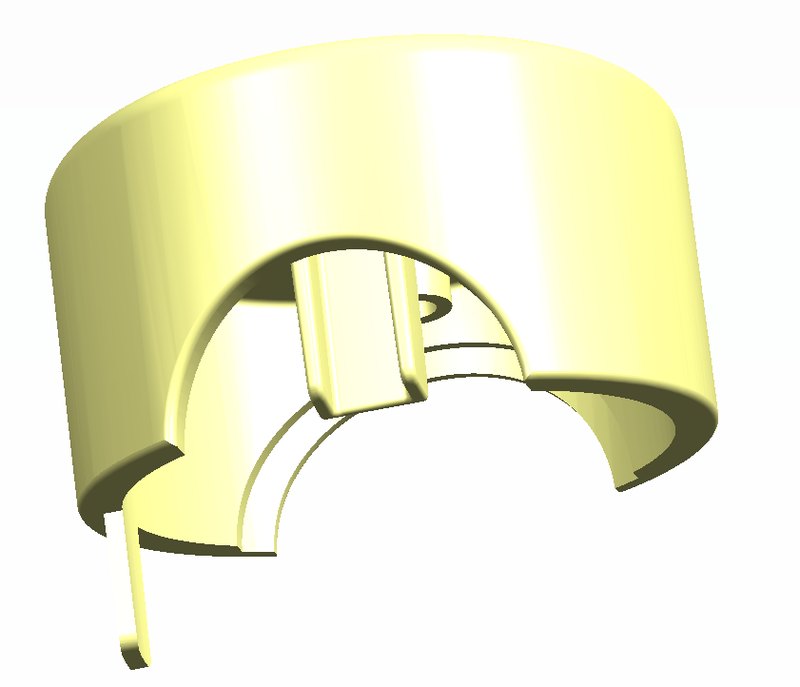
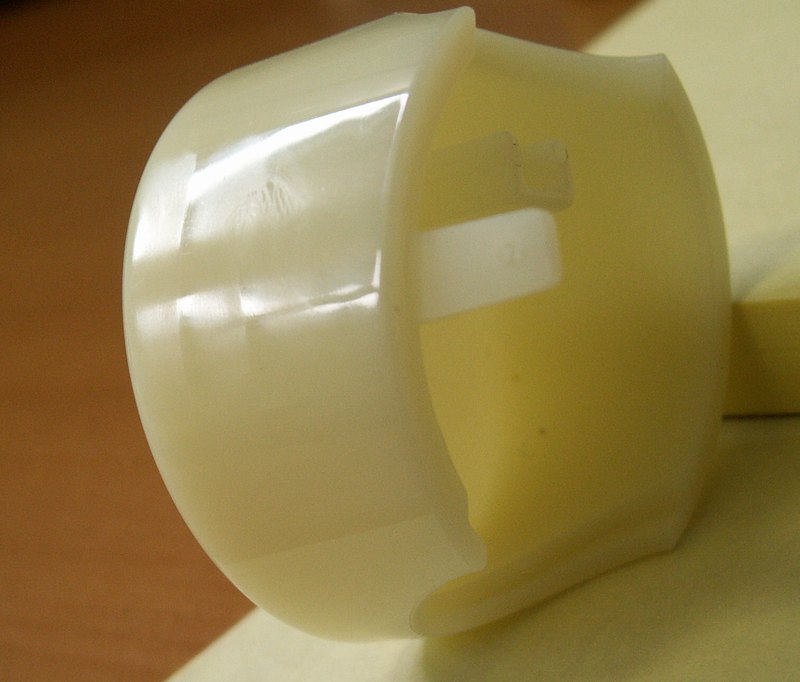
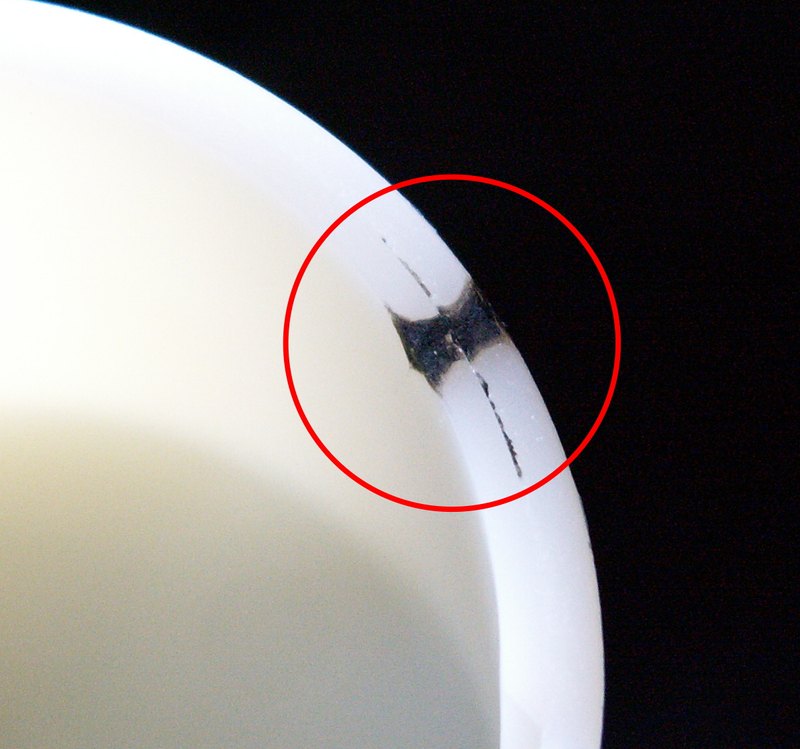
Problems are not always solved on the computer: sometimes an investigation directly at the press is needed, following the same logic as a simulation. The case concerns a small cover from a shower riser kit, showing dull areas on the surface, visible above all after finishing.
The method: a "reverse" sampling
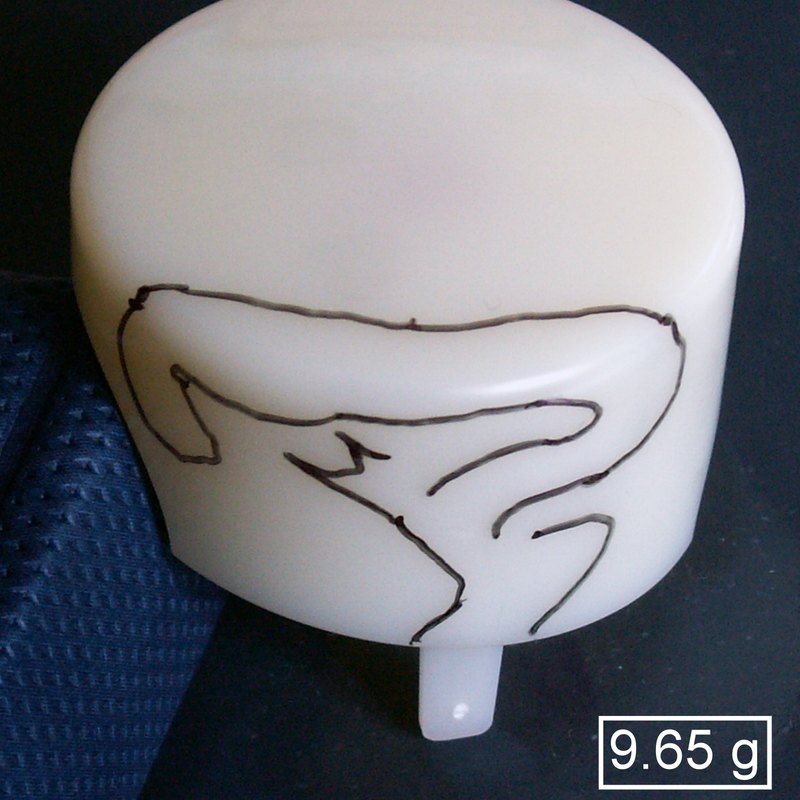
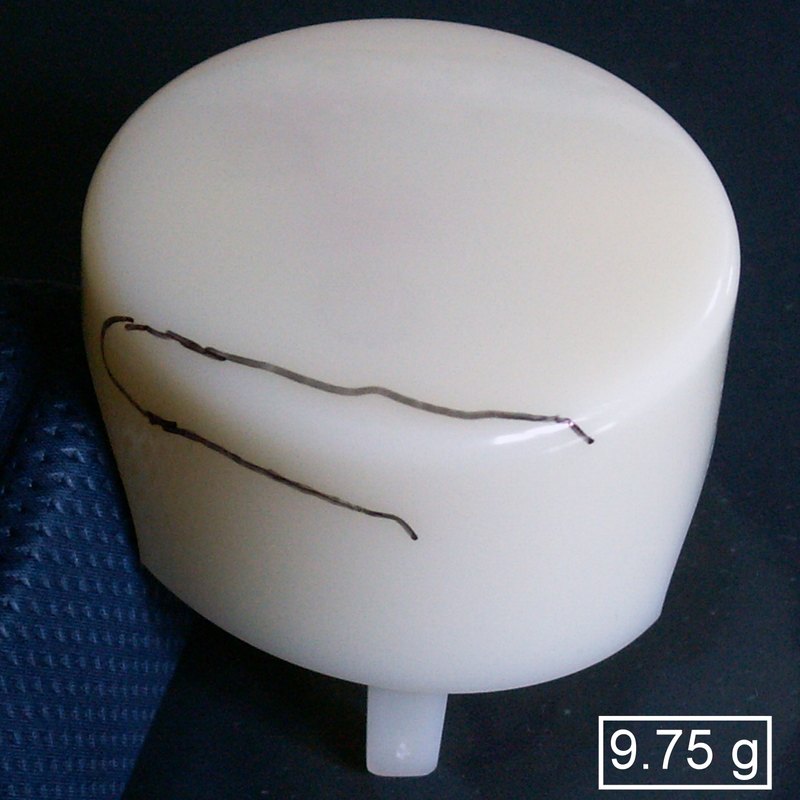
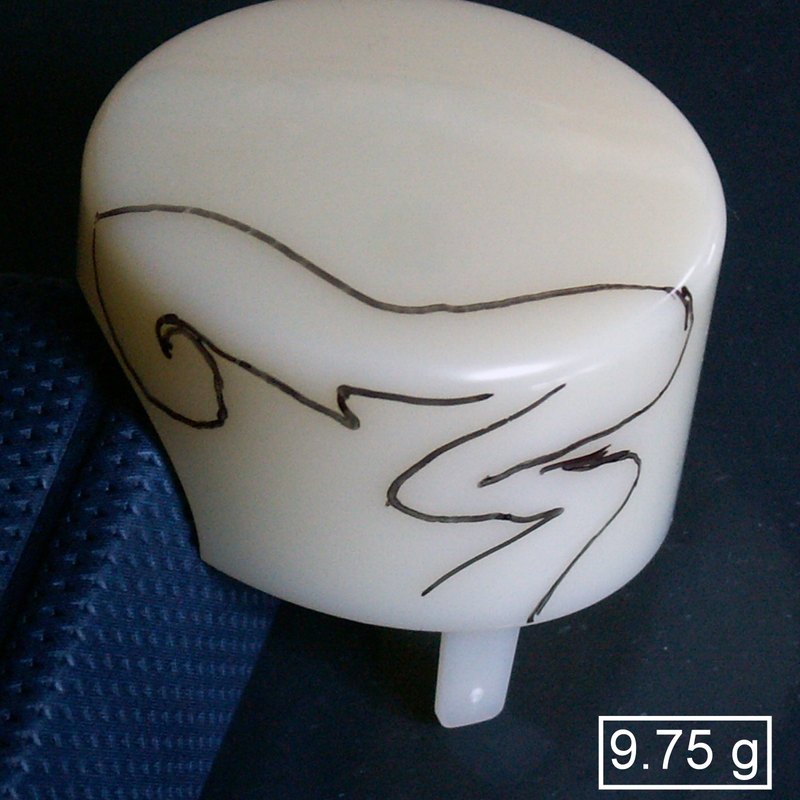
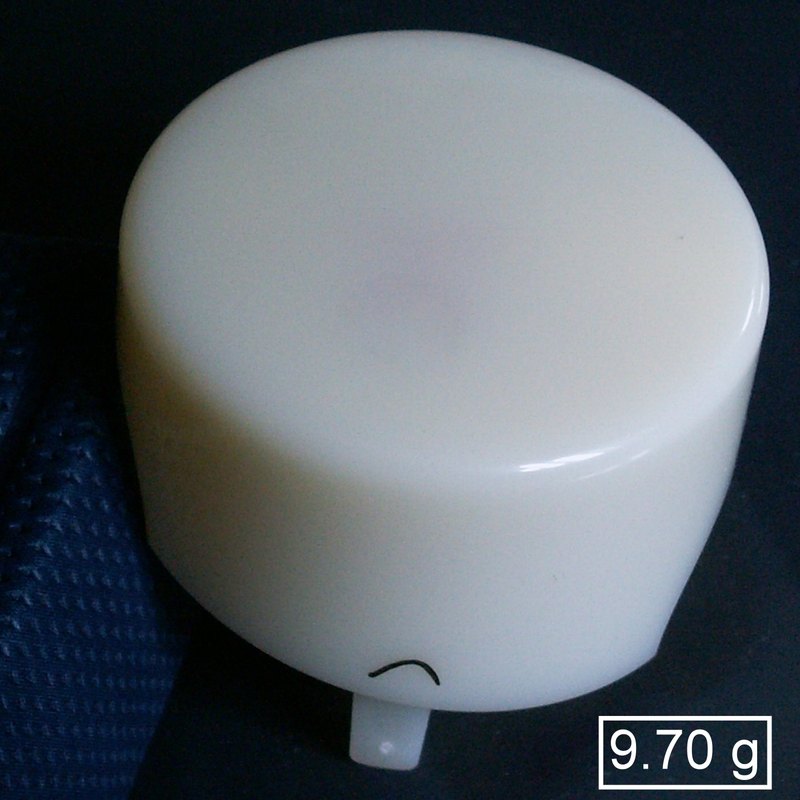
The starting point were the correct production parameters, with which the part showed no defects; then one parameter at a time was changed, marking the outline of the dull area on the part and weighing each shot. This way each process change can be linked to its effect on the defect.
Constant injection velocity
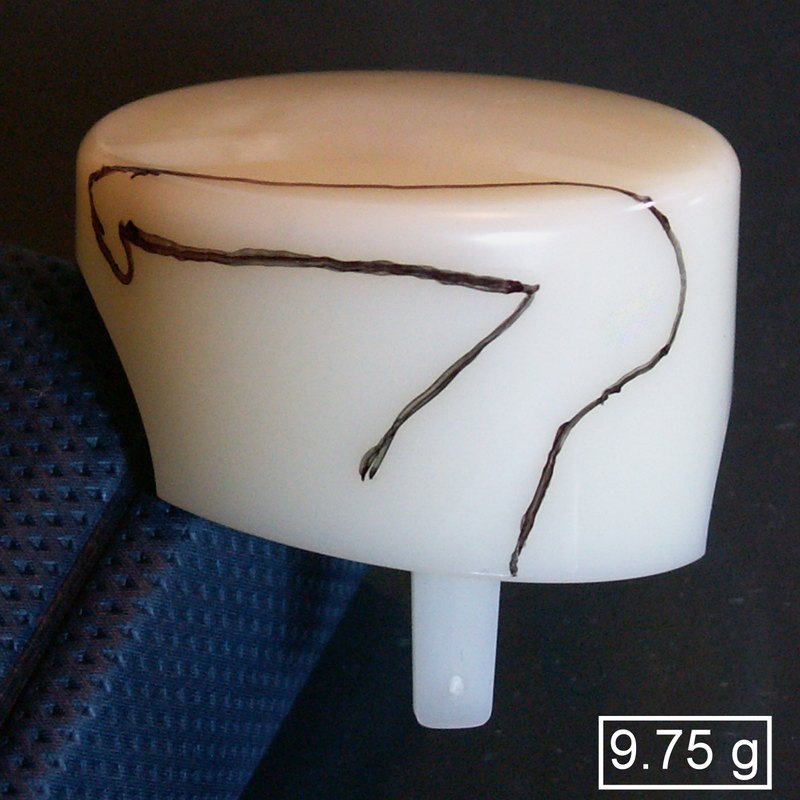
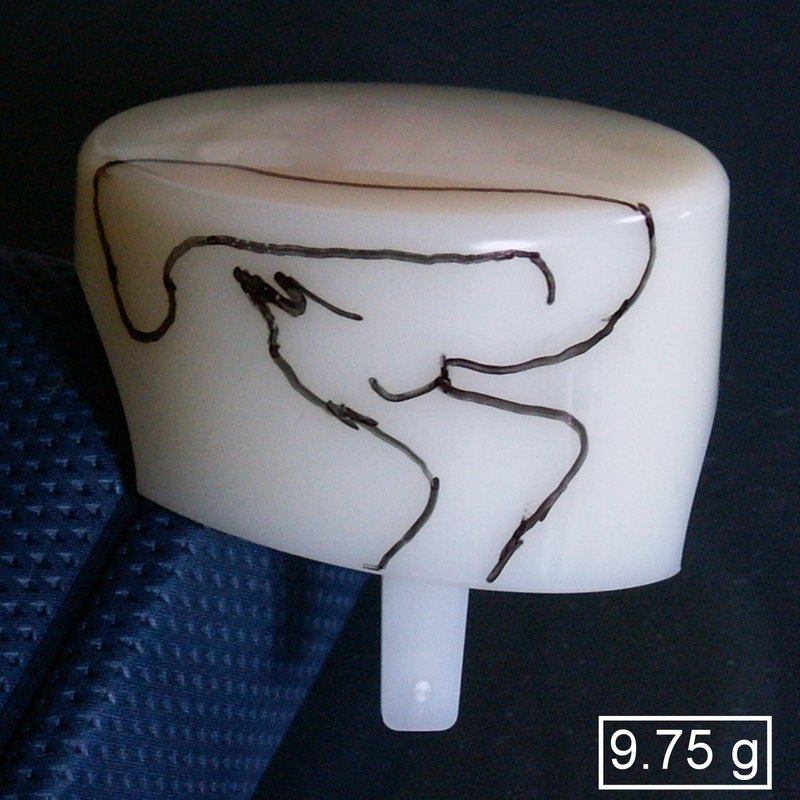
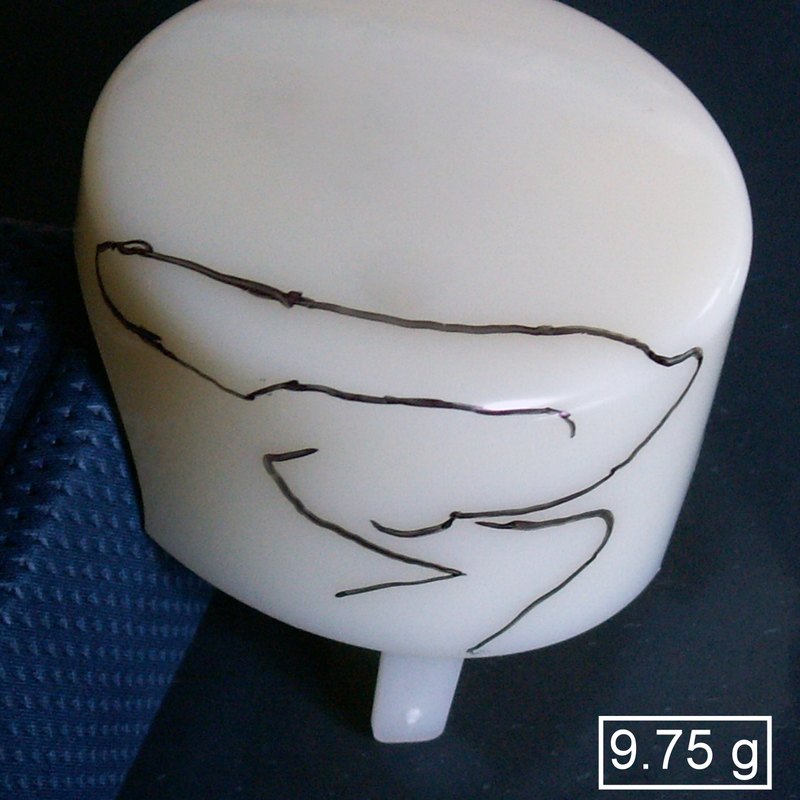
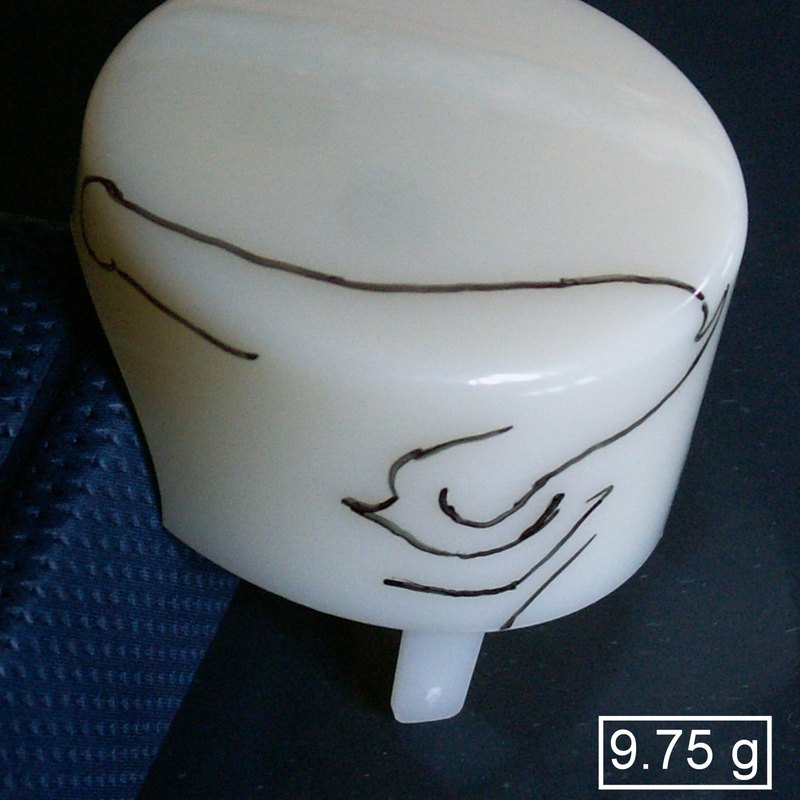
The shape of the outline shows that the dull area corresponds to the first area to fill in the part.
Holding pressure
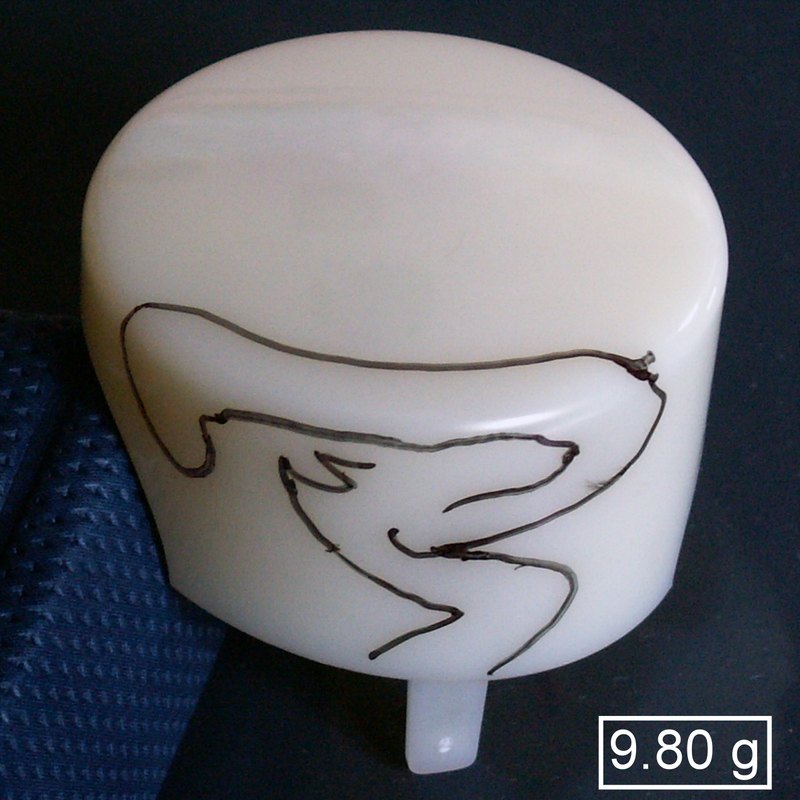
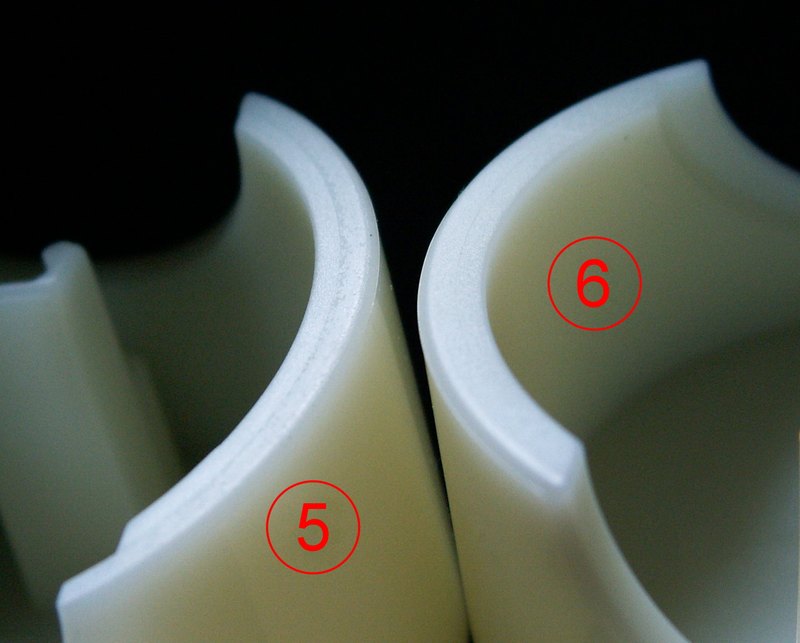
Two-step velocity profile
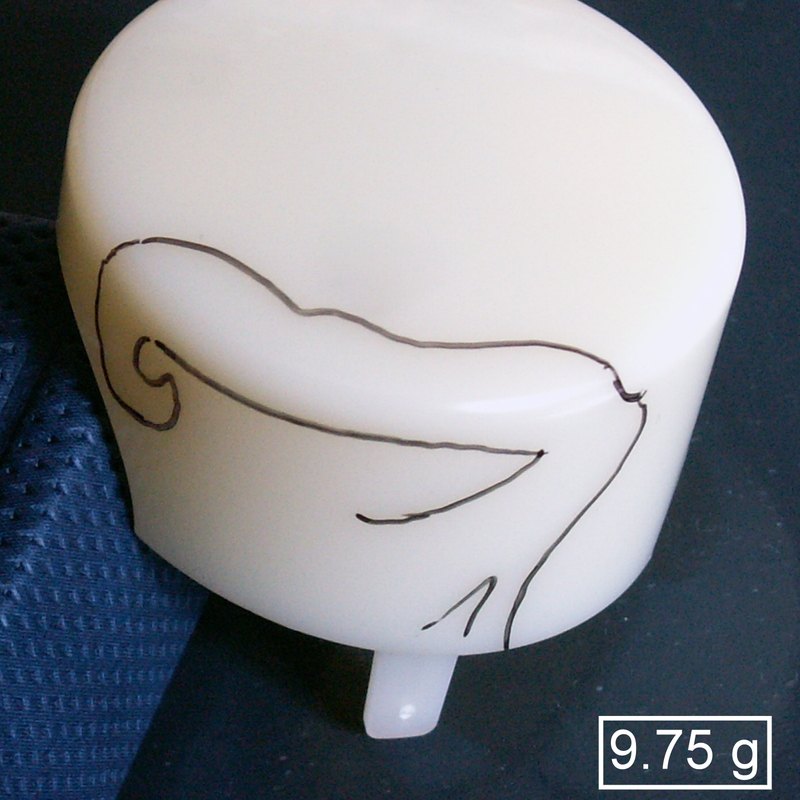
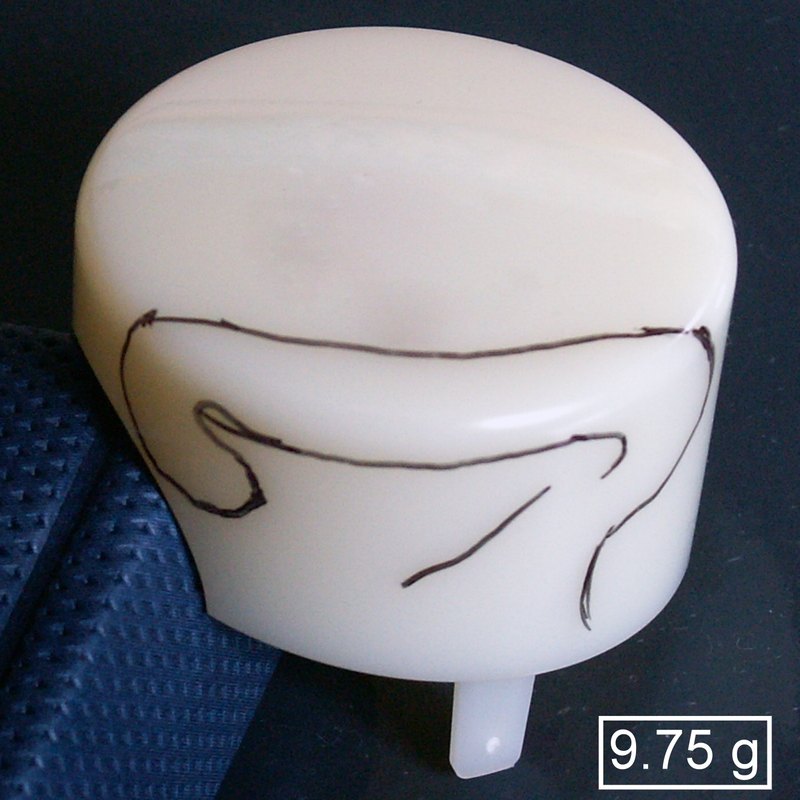
The decisive parameter is not the absolute velocity in the second step, but its reduction compared with the first step, as in the production profile.
Mold and melt temperature
Conclusion
Dullness in the material entry area is directly linked to the velocity change in the first filling phase. Acting on holding pressure or melt temperature does not solve the problem: a calibrated injection profile is needed.
The same one-parameter-at-a-time approach is what we use in simulation to set up the process before going to the press, reducing trials and sampling time.